How to Fish Walkthrough: All Islands, Bosses, and Endgame
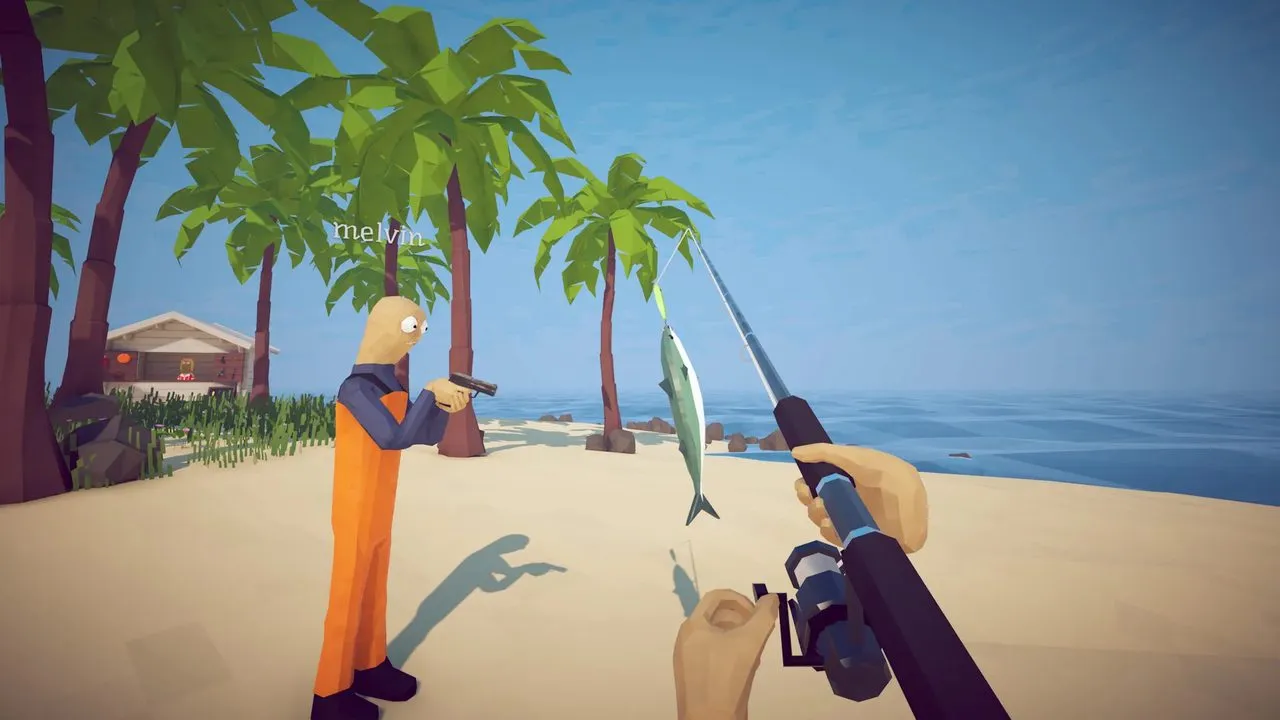
How to Fish starts at the lighthouse and gradually opens into a full island-hopping route that mixes fishing, weapon upgrades, boss fights, and a final trip to the mainland. This walkthrough follows a steady progression through every major island, covering the key NPC quests, the bosses tied to each stop, and the steps needed to reach the endgame without skipping the game’s main encounters.
The opening area is the lighthouse, where the first priority is getting enough cash for the Basic Fishing Rod. Clams solve your early hunger problem, and feeding some to the lighthouse keeper brings in the money needed for your first purchases. After that, catch a few small species with the free lure, then work toward a knife. Upgrading the knife at the anvil raises its damage enough to handle tougher catches, especially once you switch to Hotdog Lures.
The first real checkpoint is the Spider Crab. To trigger it, buy a Beer Can, give it to the lighthouse keeper, and use the empty can as bait. The fight is simple if you keep your distance and sidestep its charge, because the crab is vulnerable after it misses. The white bar under a boss health pool matters here and later, because if it empties the boss escapes and the encounter resets. Defeating the Spider Crab and feeding its meat to the lighthouse keeper completes the local quest and unlocks the boat keys. Buying the radar before leaving also makes the next trips easier.
The second island sits northwest of the lighthouse and serves as the first major equipment jump. It offers new species, stronger tools, and access to firearms. The Shotgun is the standout purchase here because it stays useful for several later bosses. To push the island quest forward, feed three leeches to the woman by the lake. She gives back a modified lure that starts the Giant Piranha fight when reeled in. The danger in this battle comes from the minions more than the boss itself, so clearing space before focusing the piranha keeps things manageable. Once it falls, hand its skeleton to the same NPC to receive coordinates for the next island.
The third island adds two important upgrades to your run: cooking and another boss chain. Hunt the Blue Shark with the Standard Lure, defeat it, and speak to the NPC by the grill to receive a lighter. Cooking fish adds a 1.5x sell multiplier, which helps fund the more expensive weapons and upgrades ahead. Another NPC, a tourist sitting under a tree, is frightened of the water. Giving him a Needlefish or a Seahorse earns a Carrot, which acts as bait for the Puffer Fish. This is one of the more dangerous fights because the boss rolls directly at you, so spacing and constant repositioning matter more than raw damage. When it goes down, turn in its fin to get the coordinates for Island 4.
Before heading on, the boat radar upgrade is worth buying, because it frees up your equipment slot. Island 4 introduces the Professional Lure and another linked hunt. The local shop NPC points you toward a large bird, but the first step is catching a Tuna with the Professional Boss Lure. After beating the Tuna, place it on the ground and wait for the Albatross to appear. This boss is much easier with a ranged weapon like the Uzi or Sniper Rifle, because the Shotgun struggles against a target that stays airborne and distant. After the Albatross is down, deliver its head to the NPC for the next set of coordinates.
The Volcano lies directly north and functions as the final main zone. A hazmat-suited NPC asks for five native fish, all caught with the Scientific Lure. Completing that request grants the Fish Bucket, which is used to summon the Whale boss. Buying the Assault Rifle and upgrading it before this step makes the next fights much safer. The Whale itself is manageable if you stay mobile and avoid its aerial attack. Once defeated, carry the carcass to the top of the volcano using the wooden planks and throw it in.
That action starts the final boss, the Mutated Bowhead Whale. It hits much harder than anything before it and adds lava attacks, so healing supplies from the military base are a practical preparation step. When the fight ends, give its fin to the hazmat NPC to receive the military boat key. That boat takes you to the mainland and rolls the credits, but the save continues afterward, letting you keep your upgrades, finish the collection, and chase cosmetic rewards through the roulette system.