If you want to melt opponents in hallways, rooms, and late-circle scrambles, this guide breaks down the best SMG archetypes and builds for Battlefield 6 multiplayer and Redsec. We’ll cover how to pick the right role for your squad, the attachments that matter, and practical tactics that translate to fast eliminations without getting caught in reloads or recoil chaos.
Why SMGs rule close-quarters
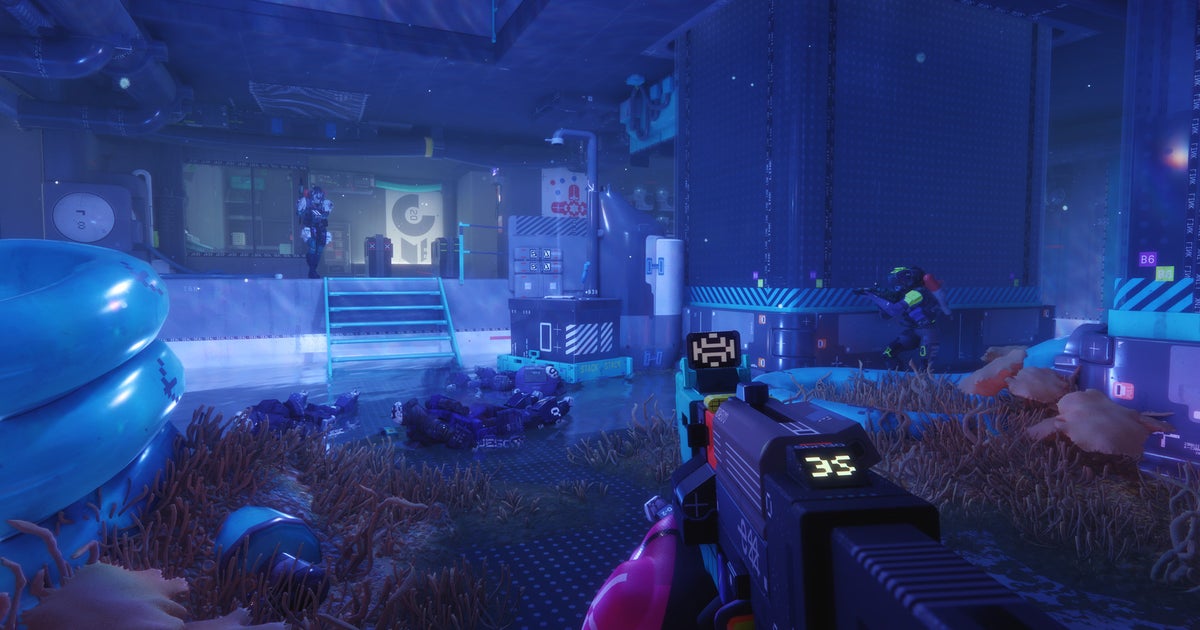
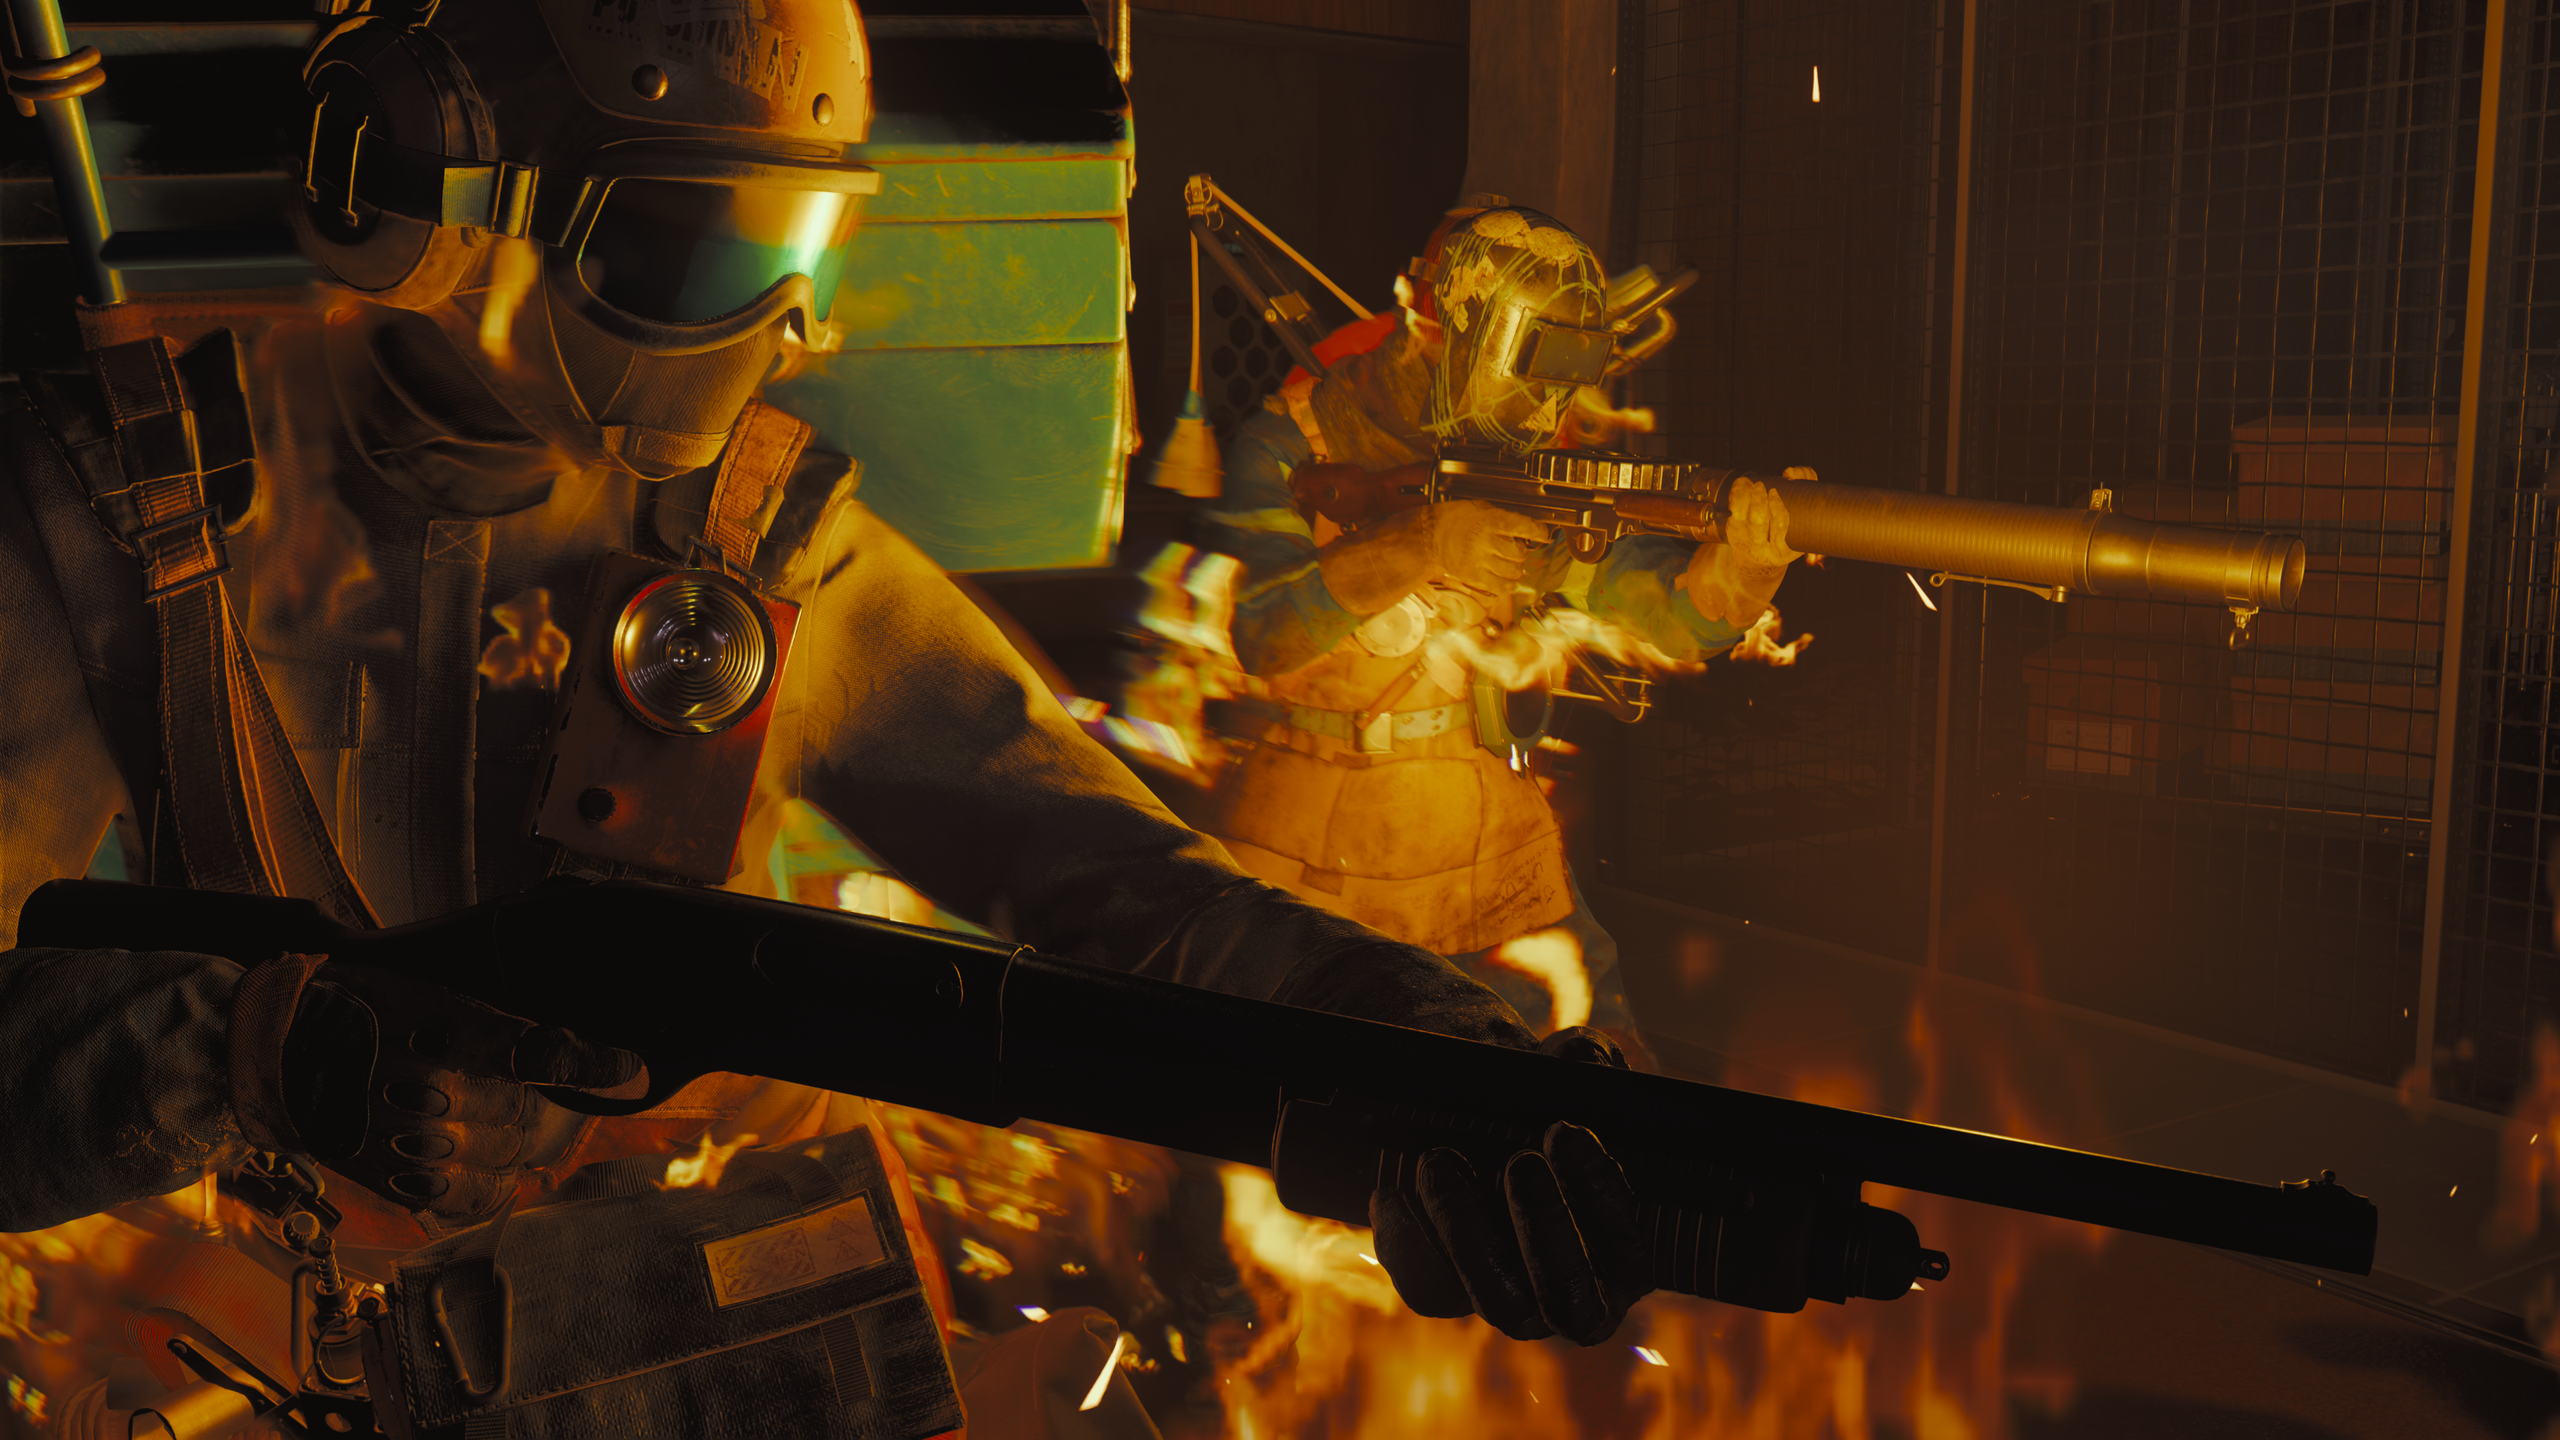
Submachine guns exist to do one thing better than anything else: win fights inside 20 meters. High rate of fire, quick sprint-to-fire, snappy ADS, and strong hip-fire let you convert surprise and movement into instant pressure. In Battlefield 6 multiplayer, that translates to aggressive lane breaks, flanks through interiors, and objective pushes. In Redsec, it means deleting enemies in stairwells, elevators, and tight compounds where ARs and DMRs can’t get up to speed.
But “SMG” is a broad label. Some are laser pointers you can steer with your thumb. Others kick like a mule yet delete armor stacks if you keep them on target. The best one for you depends on map, mode, and your team’s plan.
Read the stat card like a pro
No matter the weapon list, the same SMG fundamentals matter:
- Fire rate: Faster equals better close-range time-to-kill, but burns ammo and magnifies recoil.
- First-shot kick and sustained recoil: Decide if you can control it during 10–20 round bursts.
- Sprint-to-fire and ADS time: Determines how quickly surprise turns into shots on target.
- Hip-fire spread: Dictates whether you can win without ADS in knife-fight distances.
- Damage range: Some SMGs keep two-burst headshot potential farther than others.
- Magazine size and reload: A 40–50 round mag lets you clear multiple targets without a panic reload.
- Bullet velocity: Helps when stretching to 25–35 meters or shooting through crossing targets.
If you can’t memorize numbers, compare bars: pick the one with the best handling you can still control under pressure.
The 5 SMG archetypes you should care about
Rather than chasing exact model names, think in archetypes. Every sandbox has versions of these.
- The Bullet Hose
- What it is: Your highest-RPM option with absurd up-close TTK.
- Why pick it: Deletes enemies inside 10–15 meters, thrives in rooms and cap zones.
- Attachments: Compensator or recoil-reducing muzzle, vertical grip, 40–50 round mag, short/standard barrel, laser for tighter hip-fire, clean 1x optic or iron sights.
- Use it when: You’re spearheading a breach or expect back-to-back fights without time to aim long.
- The Workhorse
- What it is: Balanced rate of fire, controllable recoil, solid damage range.
- Why pick it: Consistent in mixed fights from 5–30 meters; easy to learn, hard to master.
- Attachments: Hybrid recoil control (comp/brake), extended barrel for velocity, 1x reflex, 32–40 round mag.
- Use it when: You’re rotating between interior and street fights and don’t want to swap weapons.
- The Precision PDW
- What it is: Lower RPM, higher per-shot damage, crisp recoil.
- Why pick it: Rewards headshots and trigger discipline, surprisingly competent at 25–35 meters.
- Attachments: Longer barrel, muzzle brake, angled grip to reduce initial kick, 1x optic, standard mag (avoid over-slowing the gun).
- Use it when: You play anchor or off-angle support inside buildings and value control over spray.
- The Ghost (Integrally Suppressed)
- What it is: Built-in suppression or best-in-class suppressed handling.
- Why pick it: Keeps you off the radar in Redsec, lets you collapse on isolated targets without broadcasting third-party bait.
- Attachments: Range-leaning barrel to offset suppressor velocity loss, underbarrel grip, extended mags to avoid audible reloads mid-fight.
- Use it when: Your squad flanks, gatekeeps rotations, or plays information denial.
- The Hybrid Carbine-SMG
- What it is: PDW with carbine-like reach; slower handling, better mid-range.
- Why pick it: Covers a team missing a true AR; great for outside push and alley fights.
- Attachments: Longer barrel, 1–1.5x optic, recoil-steadiness stock, 40–50 round mags.
- Use it when: Maps or circles force fights in alleys, rooftops, or sightlines longer than room-to-room.
Battlefield 6 multiplayer: pick by map, mode, and lane
- Tight infantry maps: Bullet Hose or Workhorse. Grab smokes to cross chokepoints, then trade flashes for the entry. Use lasers only if you can accept the visible beam.
- Objective stacks (Breakthrough/Conquest interiors): Ghost or Workhorse. Off-angle flanks win; a suppressed entry lets your squad touch point before defenders react.
- Mixed sightlines with vehicles nearby: Hybrid Carbine-SMG. You’ll contest catwalks and container yards without swapping to a rifle.
- Fast respawn, nonstop trades: Prioritize reload speed and larger mags over pure range. Nothing hurts a push like a three-second reload in a doorway.
- Squad composition: If your team already has two AR anchors, lean Bullet Hose or Ghost to create chaos and openings.
Perks and gear suggestions:
- Mobility perk: Faster weapon ready/sprint-to-fire.
- Reload/handling perk: Cuts downtime between fights.
- Info or anti-info gadget: Anything that helps you enter undetected or denies enemy pings.
- Utility: Stun/flash for breaching, one lethal for armor breaks or flushing cover.
Micro-tips:
- Pre-aim at head-height around corners; SMGs benefit most from fast headshot multipliers.
- Slice pie on entries: clear close-left/right first, then swing to far corners.
- If you land first shots hip-firing, transition to ADS by shot 3–5 for faster downing without overexposing.
Redsec: late-circle dominance with smart silence
Redsec’s armor, audio, and third-party pressure change how you build and play SMGs.
Loadout logic:
- Pairings: SMG + DMR/Sniper if you trust your close-range; SMG + fast-handling AR if your team lacks mid-range.
- Suppression matters: Staying off radar and muffling shots reduces third-party magnets. The Ghost archetype shines here.
- Magazine priority: 40+ rounds is borderline mandatory for team wipes, armor swaps, and poor cover trades.
- Velocity and range: Consider a slightly longer barrel on Workhorse/Hybrid builds to punish crossing enemies in alleys or rooftops.
Engagement flow:
- Audio discipline: Reposition after every team wipe; Redsec punishes stationary looting.
- Crack and collapse: Use utility to force movement, then commit with your SMG while a teammate holds the exit with a rifle.
- Armor awareness: After a down, reload or armor-cancel only if safe; otherwise, finish with 6–10 controlled shots and swap to the next target.
- Stairs and elevators: Pre-aim at chest-line, crouch while shooting to stabilize, and throw utility up or down the shaft before pushing.
Circle and rotation:
- Edge play: Ghost/Workhorse with suppression is king. You’ll farm rotating squads at building thresholds.
- Center building hold: Precision PDW or Hybrid to win crossing gunfights through windows and door frames.
- Vehicles: Use SMGs to delete exposed passengers or drivers at stops; commit only if you have cover from the team.
Attachments that actually matter
- Muzzle: Compensators reduce vertical climb; brakes tame the first kick. Suppressors trade a bit of speed/velocity for stealth—worth it in Redsec.
- Barrel: Short for snappier handling inside 10 meters; long for velocity and range, better in mixed fights.
- Grip: Vertical grips for full-auto control; angled grips if your struggle is the initial jerk off the first shot.
- Stock: Mobility stocks for run-and-gun; stability stocks if you beam at 20–30 meters.
- Magazines: Extended every time you expect multi-target fights; standard for the absolute fastest handling on Precision PDWs.
- Optics: Clean 1x with minimal frame. If irons are clean, use them and save an attachment slot.
Pro tip: Don’t overbuild. If your gun starts ADSing like a rifle, you’ve broken the SMG’s identity.
Movement and aim that win more fights
- Strafe-ADS: Constant lateral movement during ADS throws off enemy tracking and smooths your own recoil.
- Shoulder-peek info: Jiggle corners to bait shots, then swing with commitment and pre-fire.
- Jump-peek only once: It’s great for the first surprise; predictable after that. Mix in crouch slides or grounded swings.
- Hip-fire discipline: Inside 5–7 meters, start hip-firing immediately, then ADS if the fight extends.
- Sens and FOV: Slightly higher FOV helps tracking at point-blank; adjust sens until you can perform a 180 without overshooting by more than a doorway width.
The quick-pick cheat sheet
- Hallway and room entries: Bullet Hose with recoil control, 40–50 mag, laser if you accept beam risk.
- Mixed interiors and alleys: Workhorse with extended barrel and 1x optic.
- Stealthy third-party farming in Redsec: Ghost with suppression-focused build and extended mags.
- Anchoring a building with sightlines: Precision PDW for crisp beams and low visual recoil.
- One-gun to rule most fights: Hybrid Carbine-SMG if your squad lacks mid-range.
Final word
You don’t need the “meta” model name to farm lobbies. Pick the archetype that fits your role, build for control first and speed second, and practice short, disciplined bursts. In Battlefield 6, that wins objectives; in Redsec, it wins circles. Whichever SMG you choose, make it do its job: get in, hit hard, and get out before the third party even realizes what happened.